Creating an Imaginary Archive
Suitable for: Key stage 1, Key stage 2
Curriculum topics: Events beyond living memory KS1, Tudors
Suggested inquiry questions: What would you collect?
Potential activities: Create your own mini archive inspired by our collections. Create archive boxes using paper of card.
Today’s episode is brought to you by Lizzie, an artist who works in museums. Lizzie has picked out some beautiful documents to inspire her work. You can take part at any time you like, and don’t forget to check the equipment list before you start.
Materials list:
- Paper/card
- Ruler
- Scissors
- Pen
- Hole punch & string
Follow these instructions for Lizzie’s creative activity. Using the document images as inspiration, you will be able to create mini boxes for your archive treasures.
Tasks
Choose a document
Choose one of our four archive documents and imagine you are visiting the place it shows. What was it like? What would you see? Collect a few items from around your house and garden to represent your visit.

Make a square
1. Make a square of card from A4 – place your card vertically and fold one corner over to the opposite edge of the sheet. Use your nail to make a sharp crease
2. Use a ruler to make a line along the edge where the sides of the card meet – Lizzie used a gold pen so she could see where she had done it
3. Then cut along the line, and this will create a square of card
Add folds for flaps
4. Open up the square and fold the two corners together which haven’t yet been together. The folded cross will show you where the middle of the square is
5. We’ll now be working in fours. Fold each corner into the middle point of the square
6. The fold each edge so it meets the middle fold line, then unfold it again
TIP: Feel free to stop the video and rewind at any time, in case you want to check that you have done your folds correctly!
Create flaps and make a box
7. Four cuts next. Lizzie has marked out in gold pen where you need to draw lines, a bit like the letter H. Then, cut along these lines
8. Fold these in and up to create flaps, which start looking like the two sides of your box. Unfold out the two long sides, then fold them over the upright flaps to create a sturdy box. Tuck these in.
9. Draw around the outside of the box onto a piece of the same colour card, then cut out the square and lay into the bottom of the box to make it look neat!
Repeat this for as many items that you found which represented your document. Lay your treasures carefully inside their boxes, and put them in a safe place for display!
Make labels
Optional: Now you can make labels for your objects!
Draw along either side of a ruler and cut out a rectangle – chop two corners off to make an authentic looking label-shape.
Hole punch one end of the label, thread a piece of string through the hole.
You can add a number/name to the label using a stencil or free hand.
Then you can lay all of your objects and boxes into the drawer, with labels alongside.
Share!
Share your work with us as we’d love to see what you create!
timetravelclub@nationalarchives.gov.uk @UKNatArcEdu #timetravelclub
Background
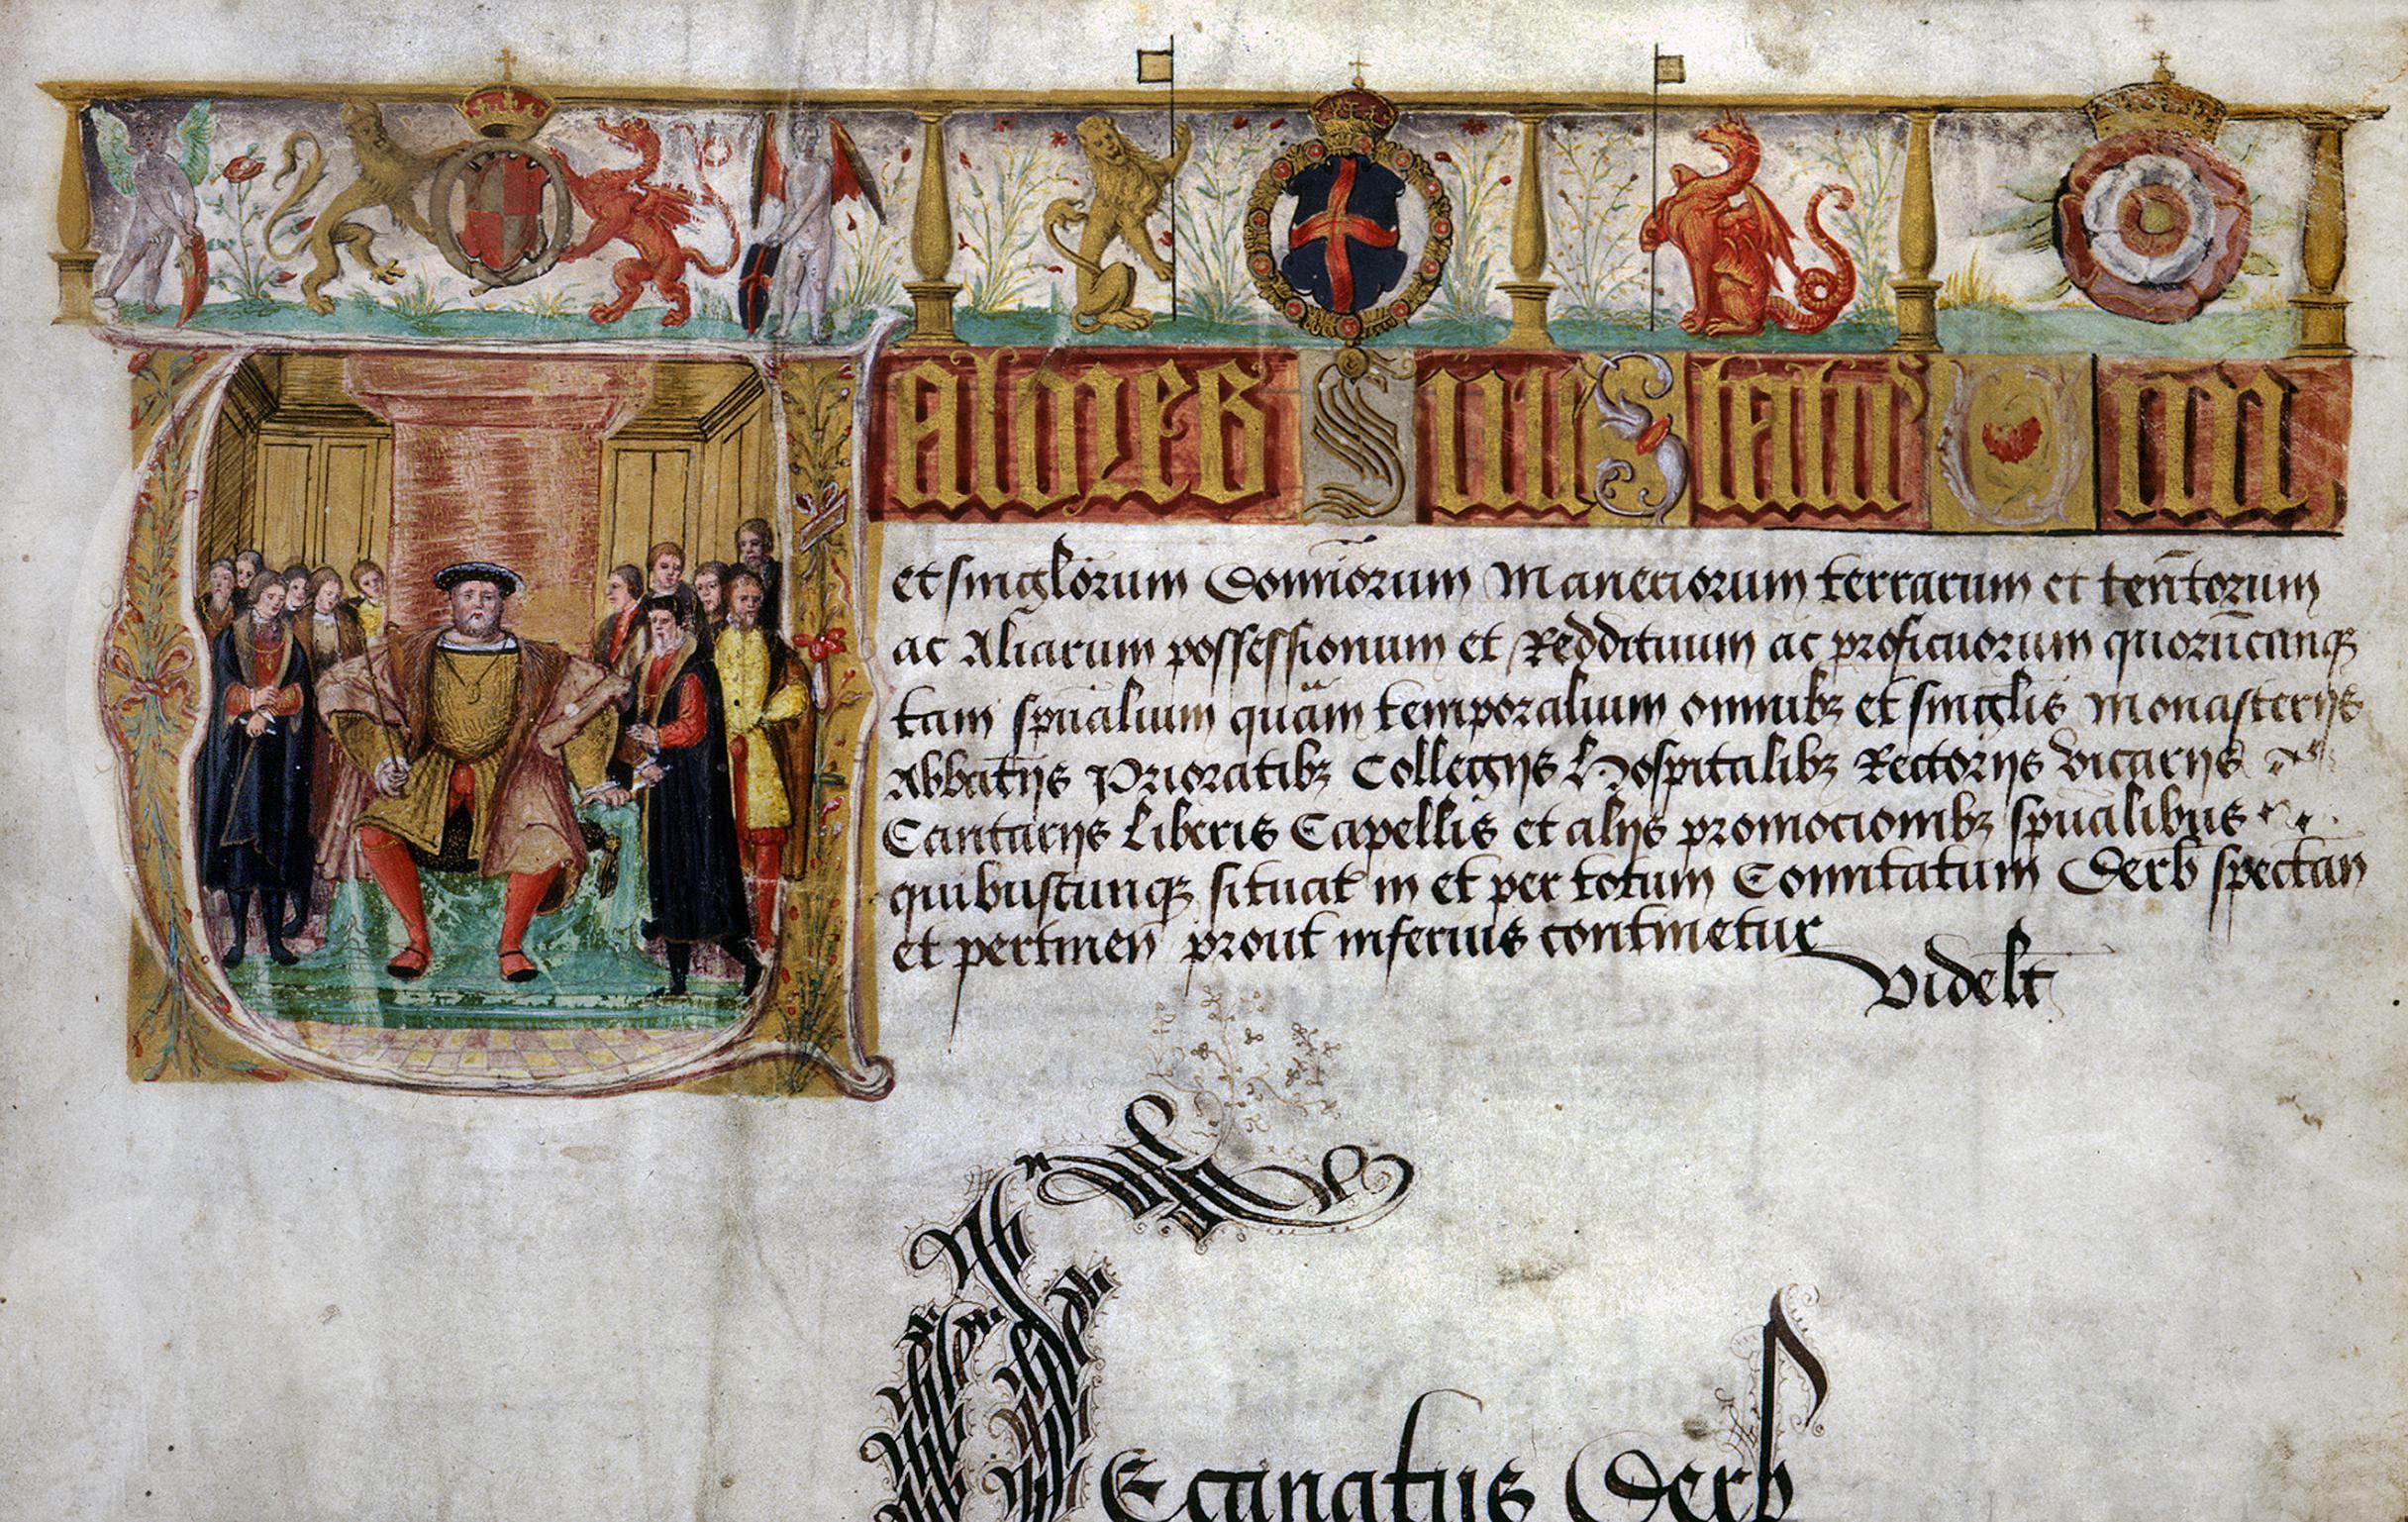
So here we have a striking image of Henry sitting on his throne, looking very much the monarch completely in charge. You can see that it is actually part of a much larger document. It is taken from a very iconic/significant document called the Valor Ecclesiasticus, Now, these are not very familiar words that we use today, but it means ‘Church Valuation’.
Henry VIII set up a new religion, the Church of England, because he wanted to divorce his first wife Catherine of Aragon and marry Anne Boleyn. By creating the Church of England, Henry VIII didn’t have to listen to the Pope anymore. The Pope was the Head of the Catholic church and very important. He had said that Henry was not allowed to divorce Catherine and marry Anne.
Henry was in charge of this new religion and called himself Head of the Church of England. This meant he could divorce Catherine and do what he wanted! He was also able to take money and land from the Church (as they were very rich!) and use it for his own means/ spend it the way he wanted to. This is why he had the Valor created, as it is a record of how much value the church had.
The image you can see of Henry certainly portrays him as a very powerful and important king. Look at how he is sat right in the middle of the image, much bigger than anyone else, and with all of his courtiers around him – they look like they are hanging onto every word he is saying!
This is actually part of a much larger document, if I zoom out now, you can see that it is surround by more illustrations and writing. This is part of the title page of the Valour, and was highly decorated, much like the rest of the document. Note the Tudor rose & dragon and lion crest.
If you’d like to learn more about King Henry VIII, take a look at our Time Travel TV episode: https://www.nationalarchives.gov.uk/education/students/time-travel-tv/tudors-image-of-a-king/
Back to top
Suitable for: Key stage 1, Key stage 2
Curriculum topics: Events beyond living memory KS1, Tudors
Suggested inquiry questions: What would you collect?
Potential activities: Create your own mini archive inspired by our collections. Create archive boxes using paper of card.
Henry VIII court rules
How did Henry VIII get up in the morning?
Discover the Dissolution
How did the Dissolution change my local area?
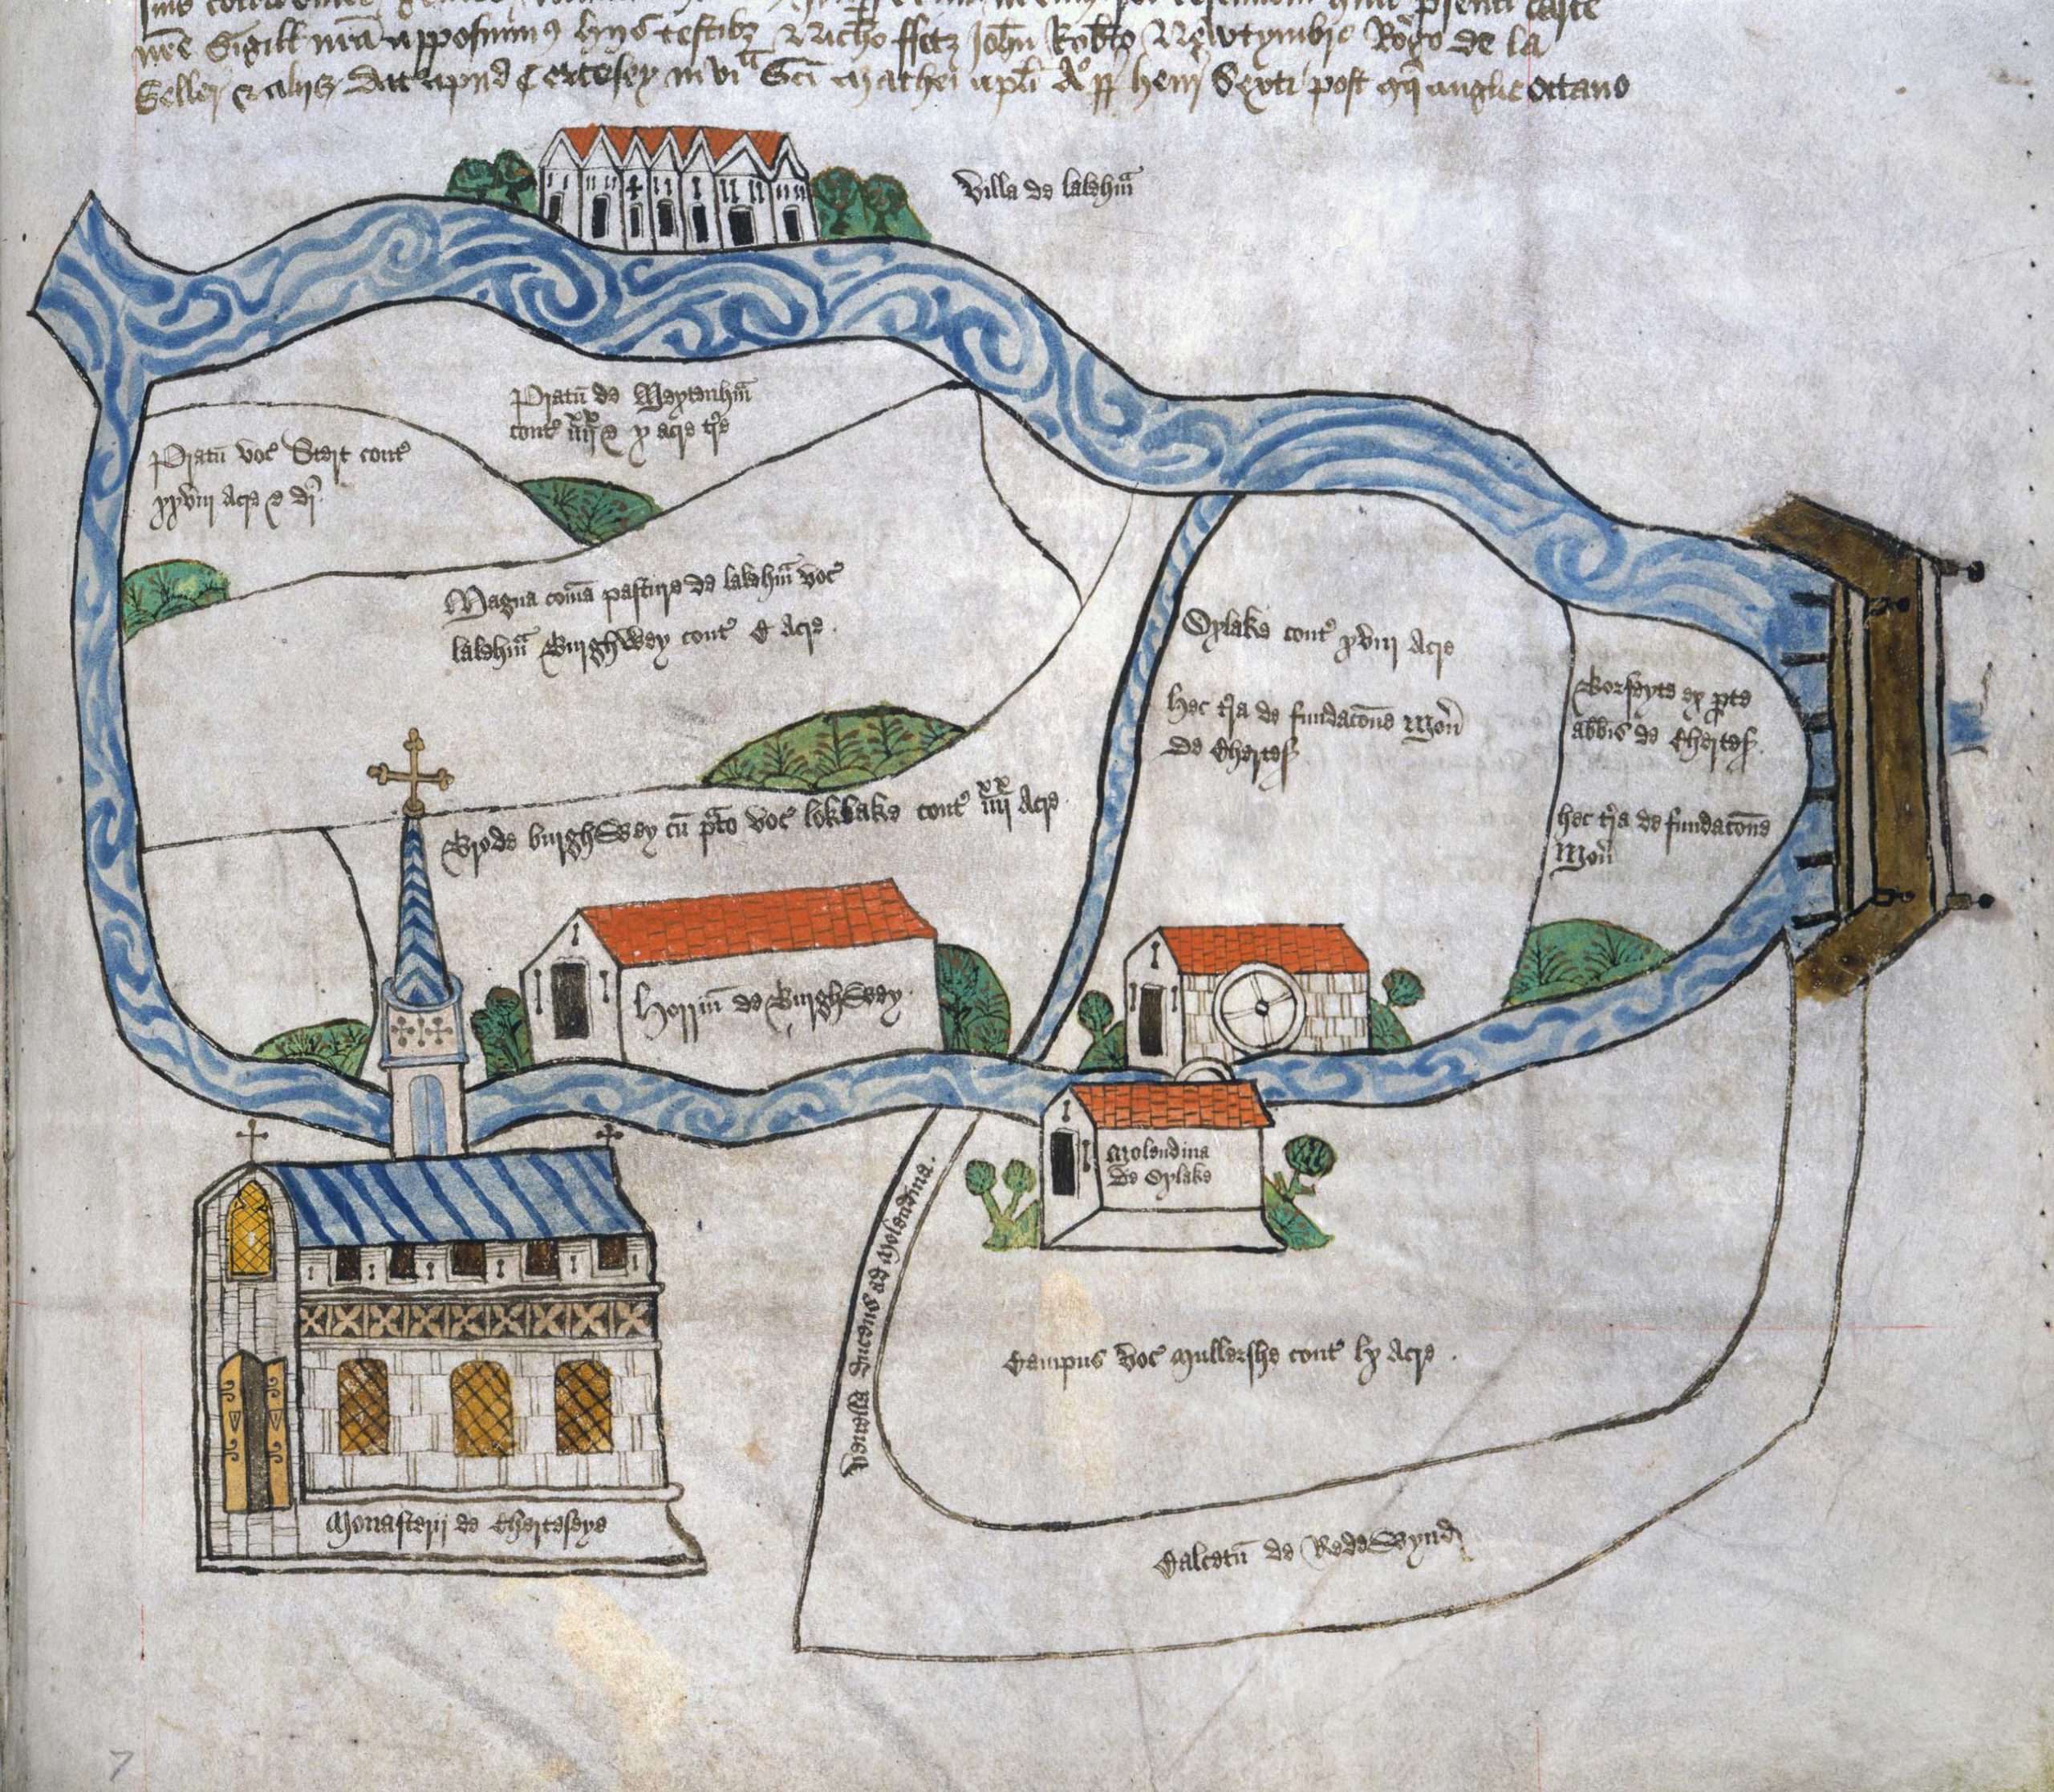
Chertsey
What was Chertsey like in the Middle Ages?
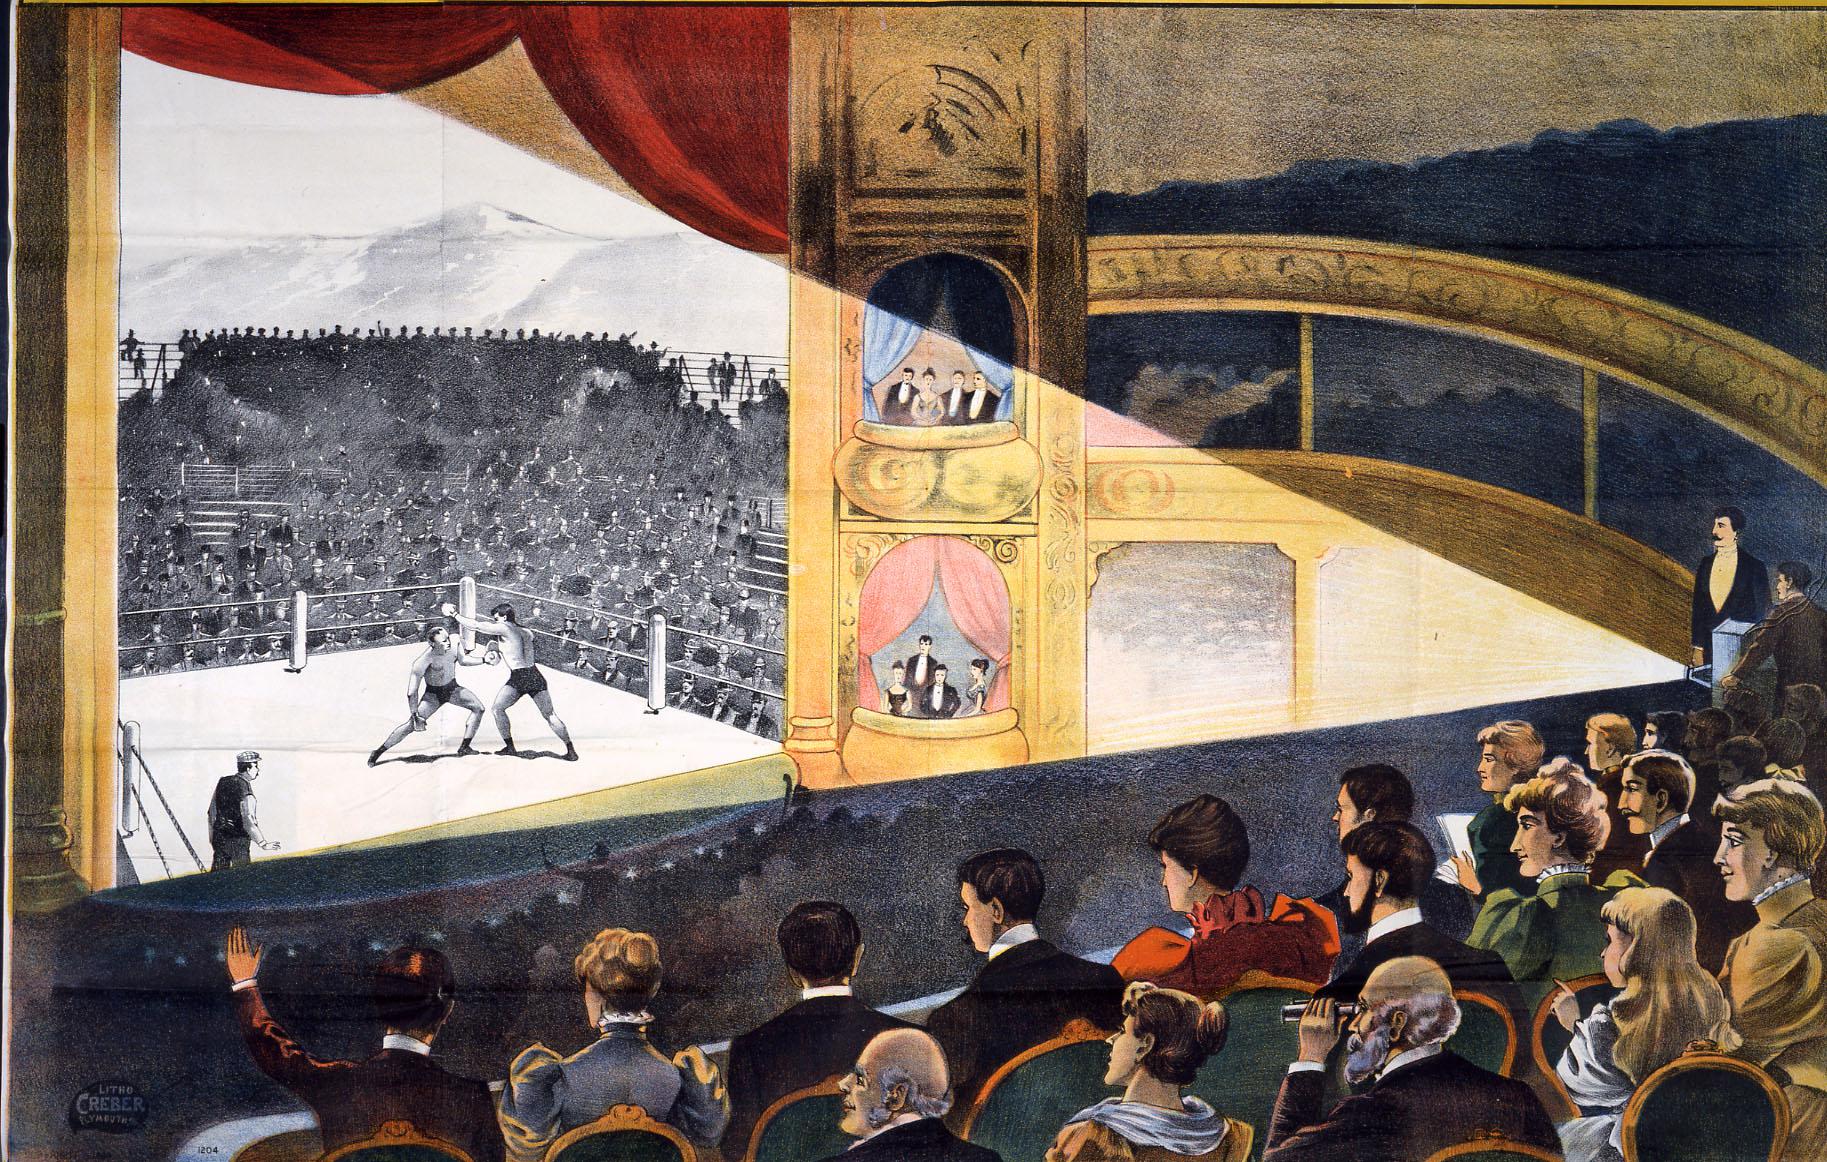
Past pleasures
How did the Victorians have fun?
Significant Events
What happened then?