Craft Club – Christmas Cards
Suitable for: Key stage 1, Key stage 2
Time period: Early 20th Century 1901-1918, Victorians 1850-1901
Curriculum topics: Leisure and Entertainment, Recreation through time
Suggested inquiry questions: What will you put in your pop-up card?
Potential activities: Use the templates provided to create your own pop-up card.
Join Emily and Nigel, who will show you how to create your own pop-up Christmas card using documents from the collection as inspiration! You’ll enjoy crafting special cards for your friends and family as well as seeing a showcase of more festive greetings from the archives.
Materials List
- Scissors
- Pencil
- Colouring pencils
- Glue stick
- Thick and think marker pens
- Ruler
- Piece of card, or back of cereal box
- Few sheets of A4 paper
- Watercolour paints (optional)
- Templates (pdf) downloaded from webpage
Tasks
Create the pop-up card
1. Cut out the template of the card (1) – it is a rectangle shape
2. The copy around the rectangle shape onto a piece of card. Use a ruler and a pencil to draw along all four sides
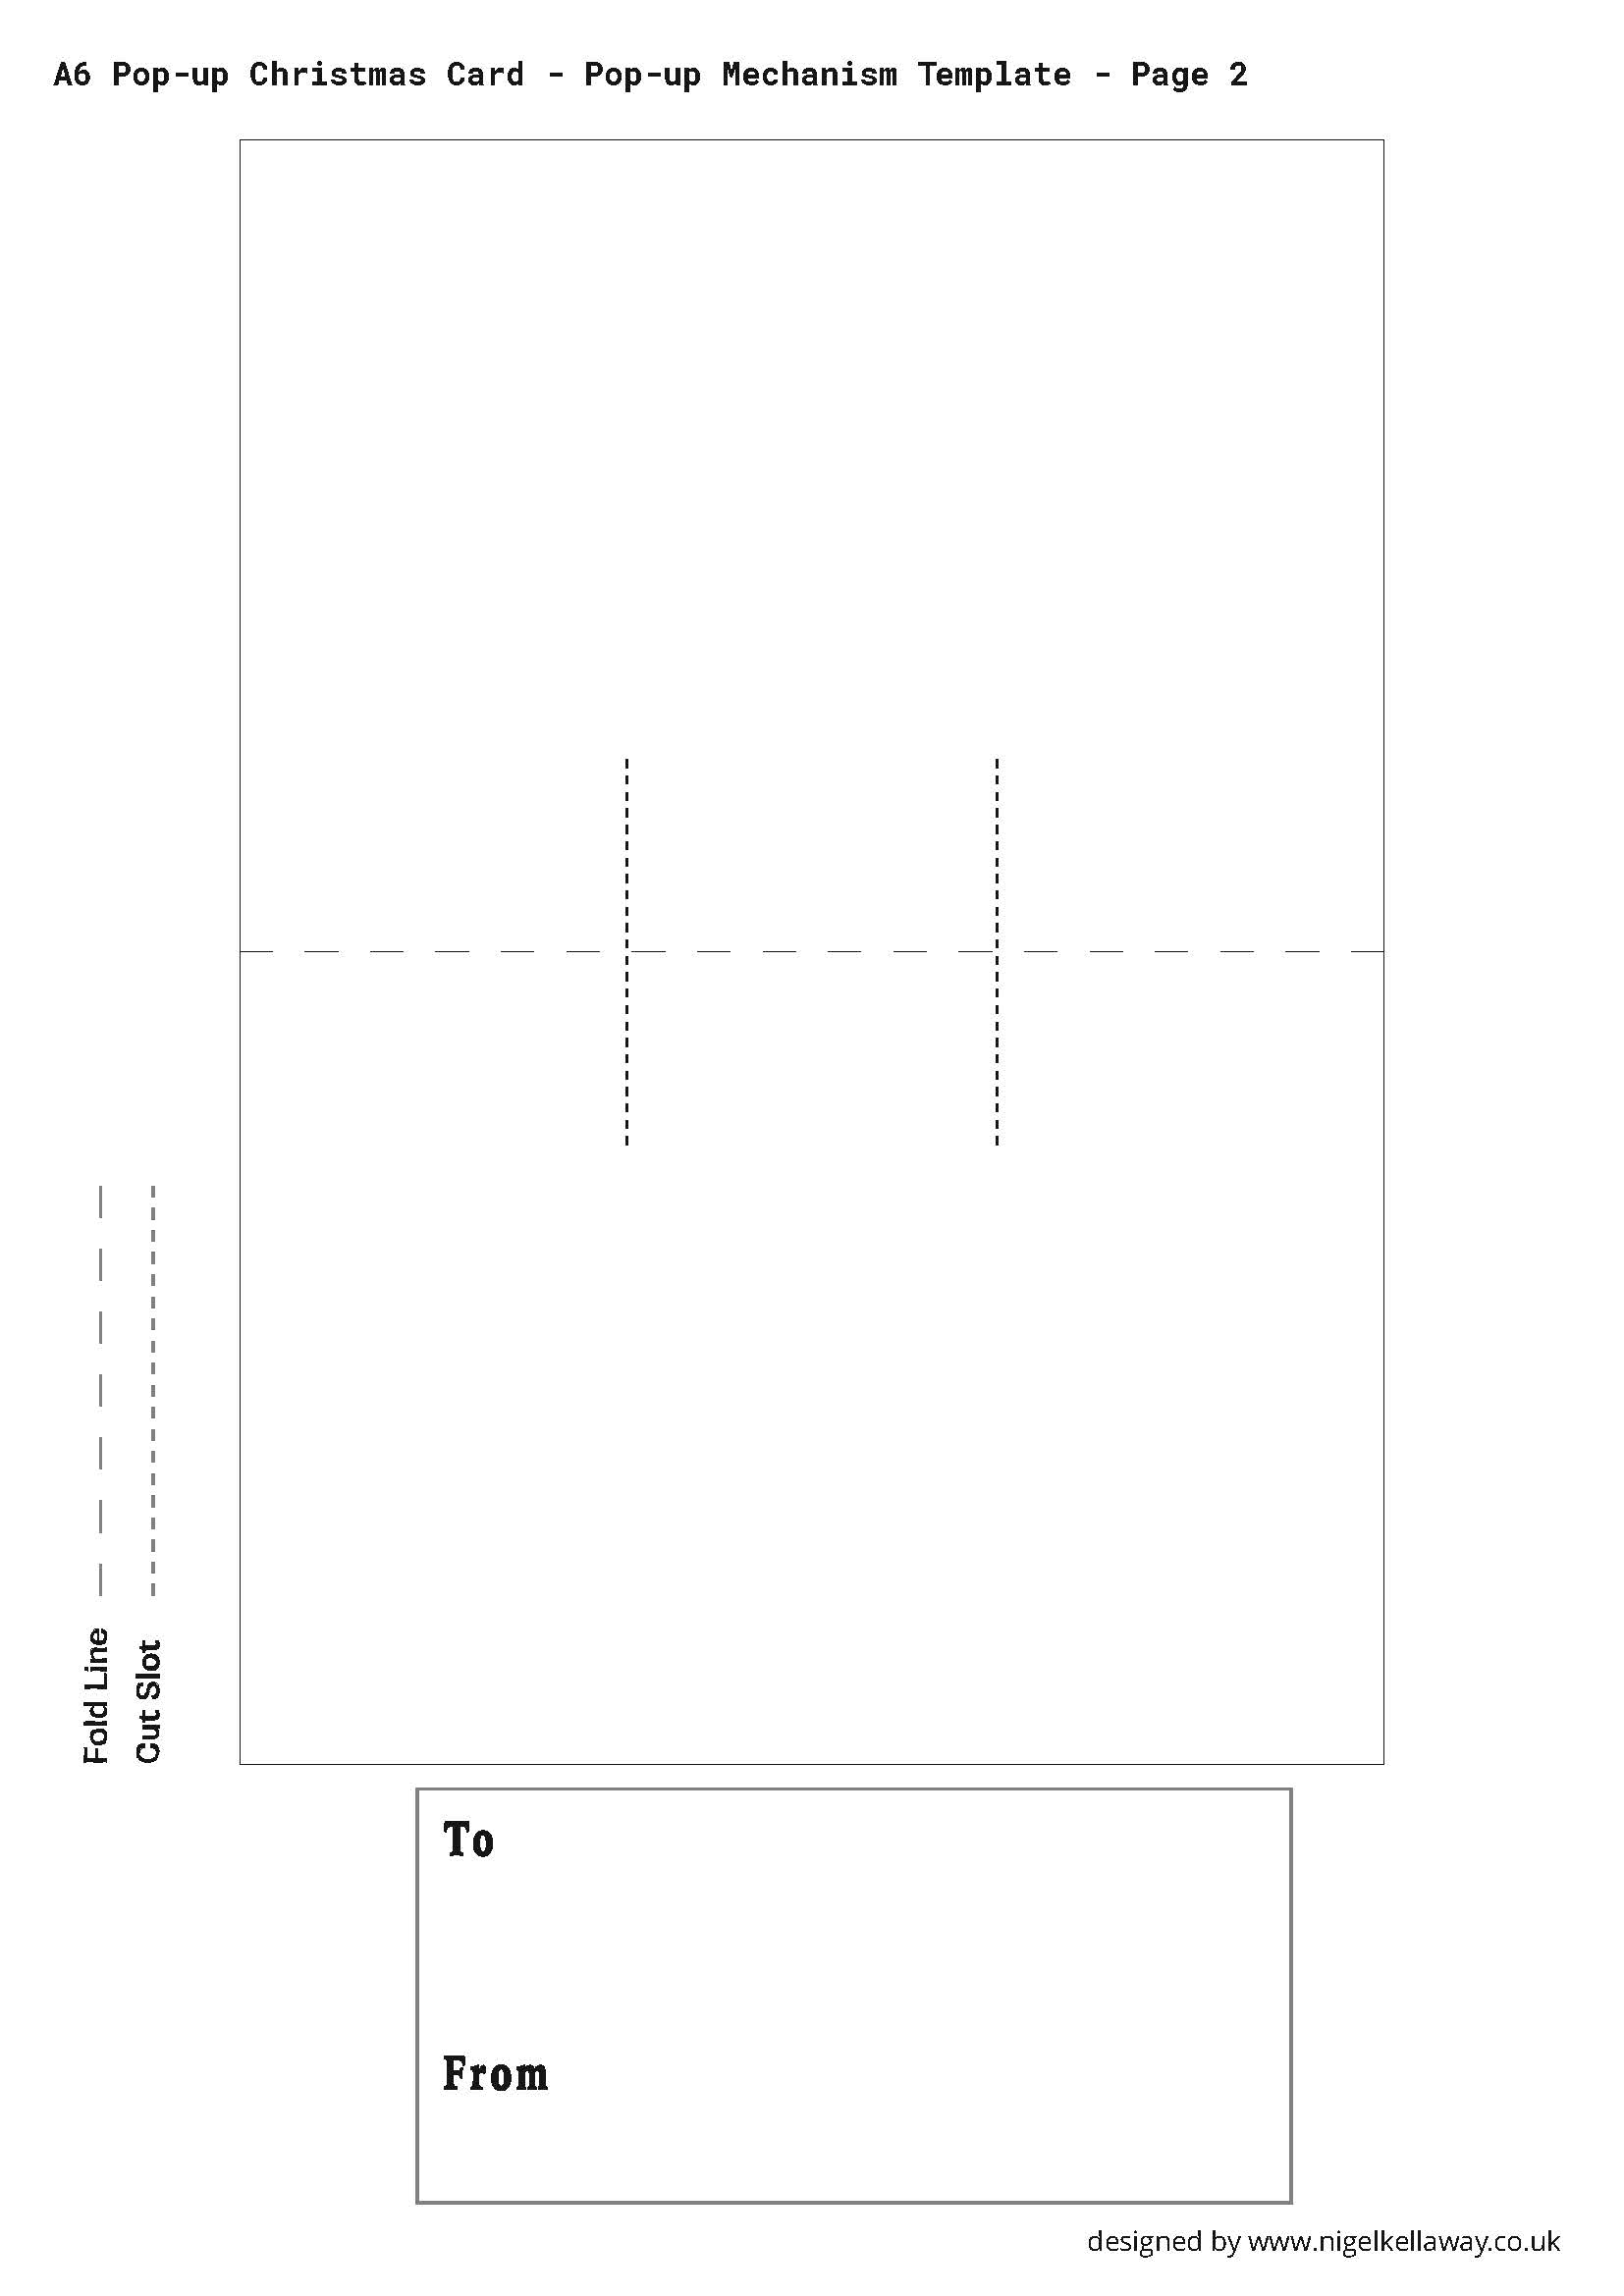
3. Fold the white piece of paper along the middle, along the central dashed line. The cut along the two smaller dashed lines to create a tab. Fold the tab backwards and forwards, then turn it over and fold again. Then open the card, push the cut part forwards and pinch it – this creates a little pop-up step
4. Take the card rectangle. Fold it in half, then crease down the fold
5. Time to stick these two pieces together. Use a pencil to draw a line around where you want the glue to go, as you do not want to get the glue too close to the pop up mechanism. Slide the paper inside the folded card, close and stick them together. Push out any air bubbles. Then turn it over and glue on the other side of the paper, stick it down. This has created the pop-up part of the card
Decorate your card
6. Time to decorate your card. On one side of the card, use a thick marker to draw vertical lines to create an interesting pattern on what will be the base. Repeat the lines horizontally across the card. You can use watercolour paints to create a ‘wash of colour’ on the plain side of the card – Nigel has used red, but you can choose whatever colour you like! Leave to dry.
7. Find the template with the banners, holly pieces and Pudding shapes on. Now you are going to outline all the elements of the decorations. Use a thick marker for the outside lines and a thinner marker for the inside lines. This will help you cutting them out.
8. Now you can colour them all in. Nigel has used yellow for the banner, but you can choose whatever colours you like! Nigel has used watercolours for the Christmas pudding, left to dry, then gone over in a second colour to enhance the effect
9. Cut all of your pieces out.
10. Stick the holly pieces into two top and two bottom corners. Stick ‘Happy New Year’ banner to the bottom base with lines, and ‘Merry Christmas’ on the top red side. Glue on the Pudding – use finger to support the pop-up whilst you glue only the part which the Pudding will be attached to. Then, stick the Pudding on. You have created a fantastic card!
Add your label and create your envelope
11. Draw a thick outline around the label template
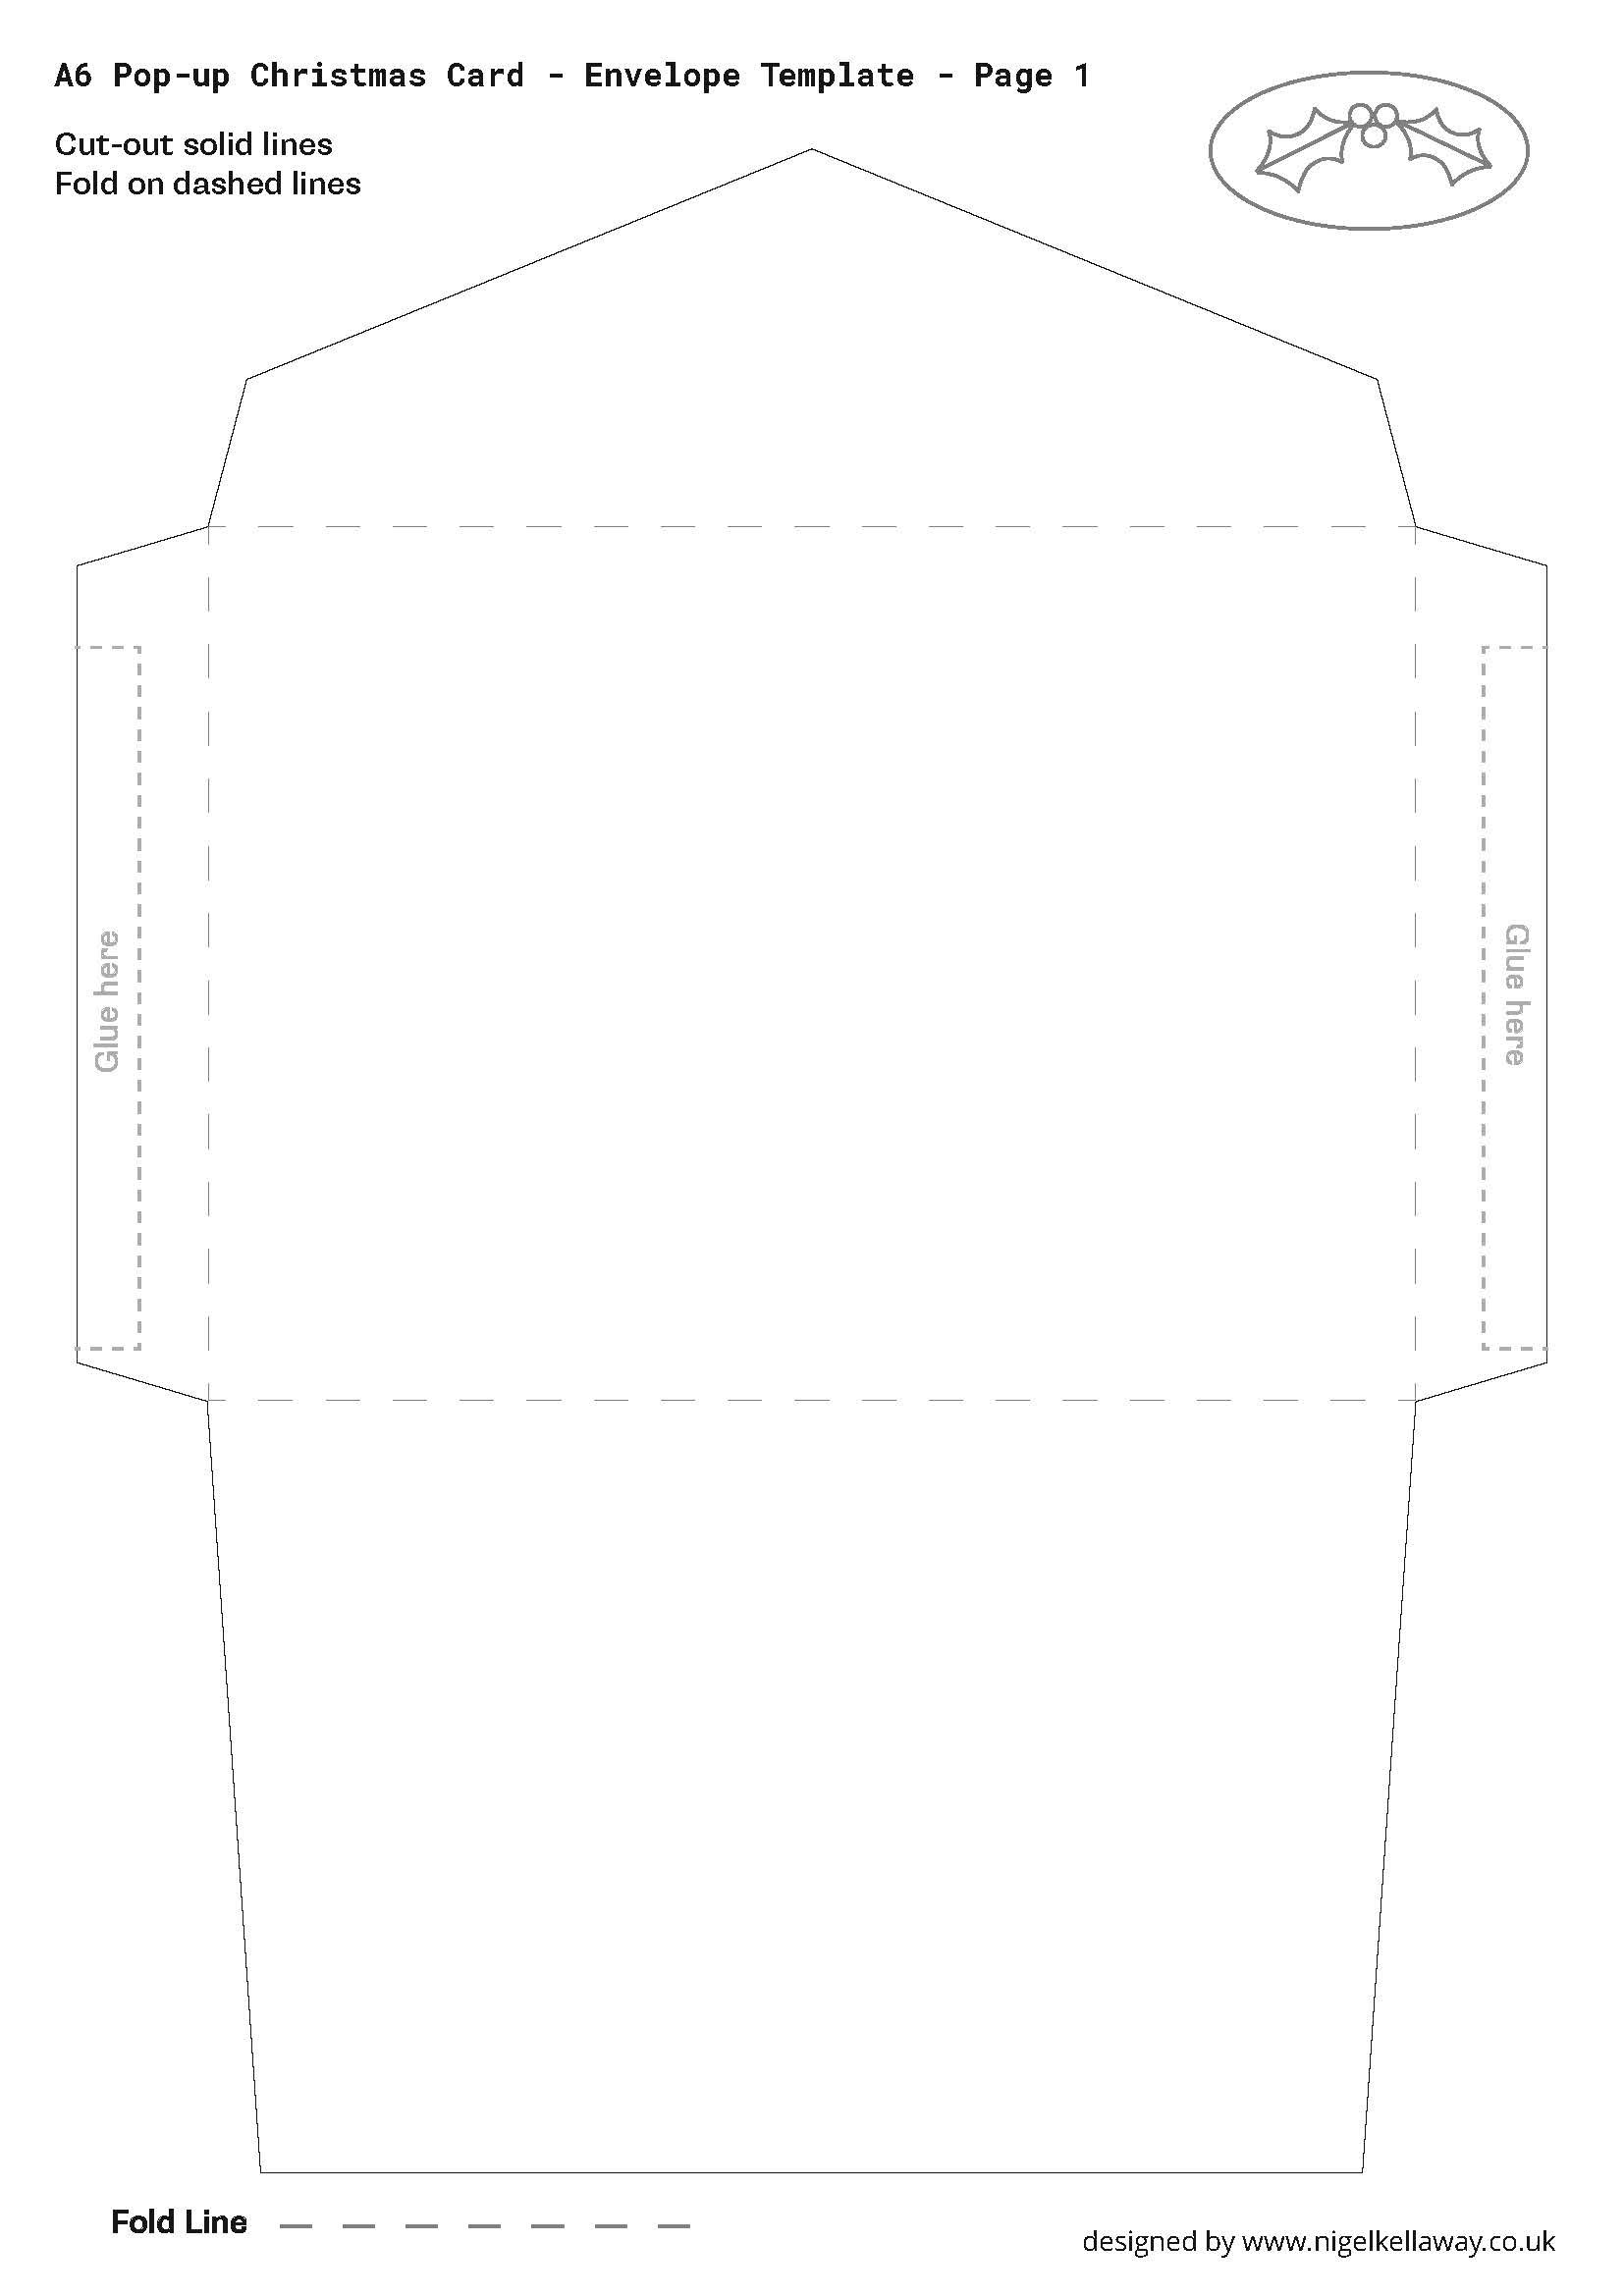
12. Find the last template which is for the envelope. Cut around the main outline, as well as the holly piece which will be a seal for the envelope. Then, fold along all the dashed lines. Glue on the tabs which say ‘Glue here’, and you have now created an envelope for your card!
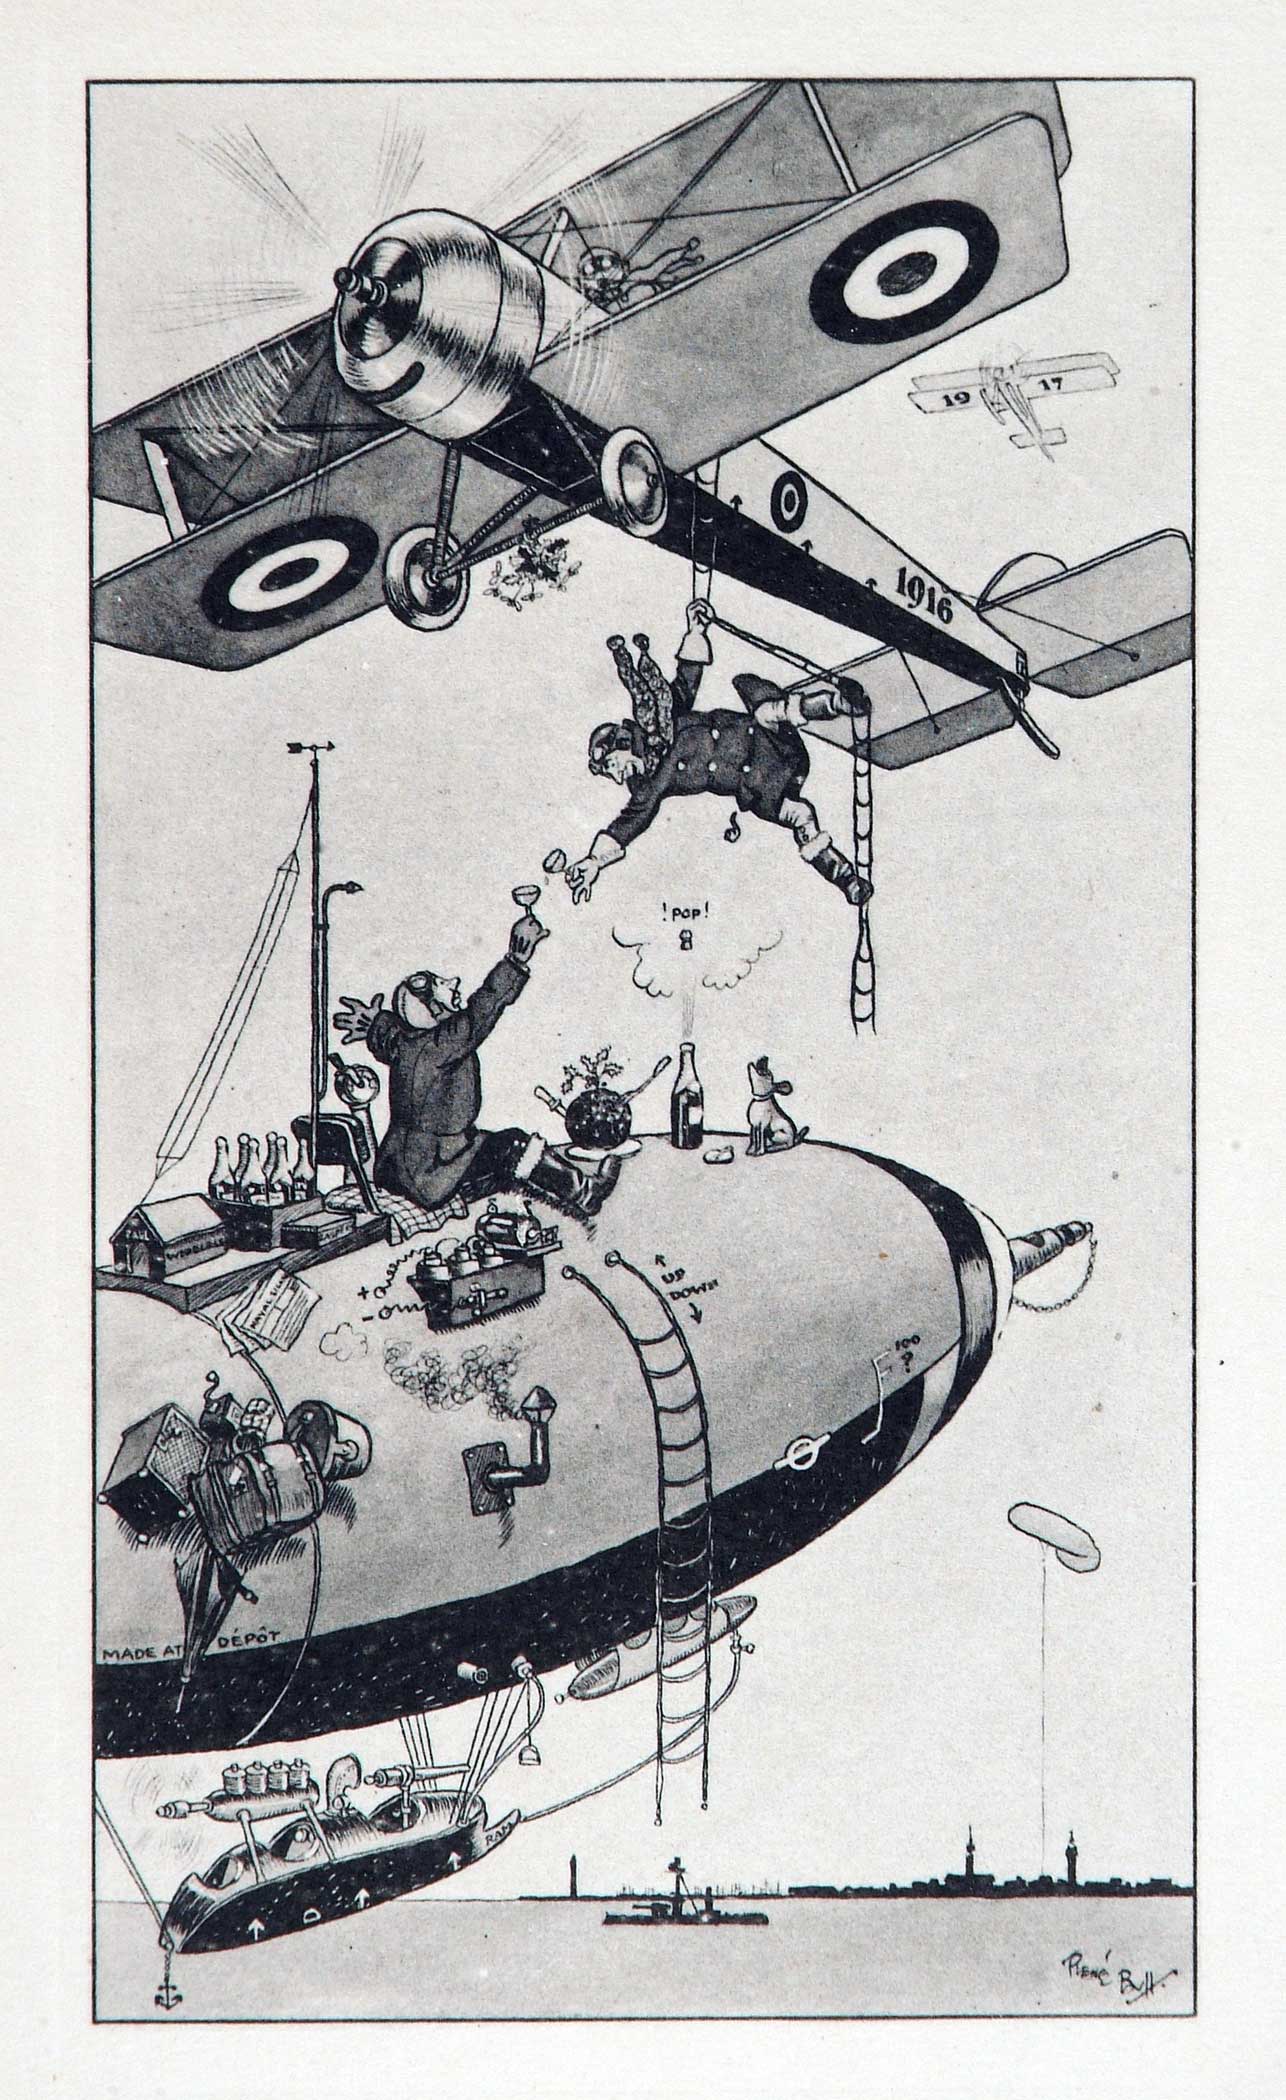
Take a look at the documents that inspired this craft
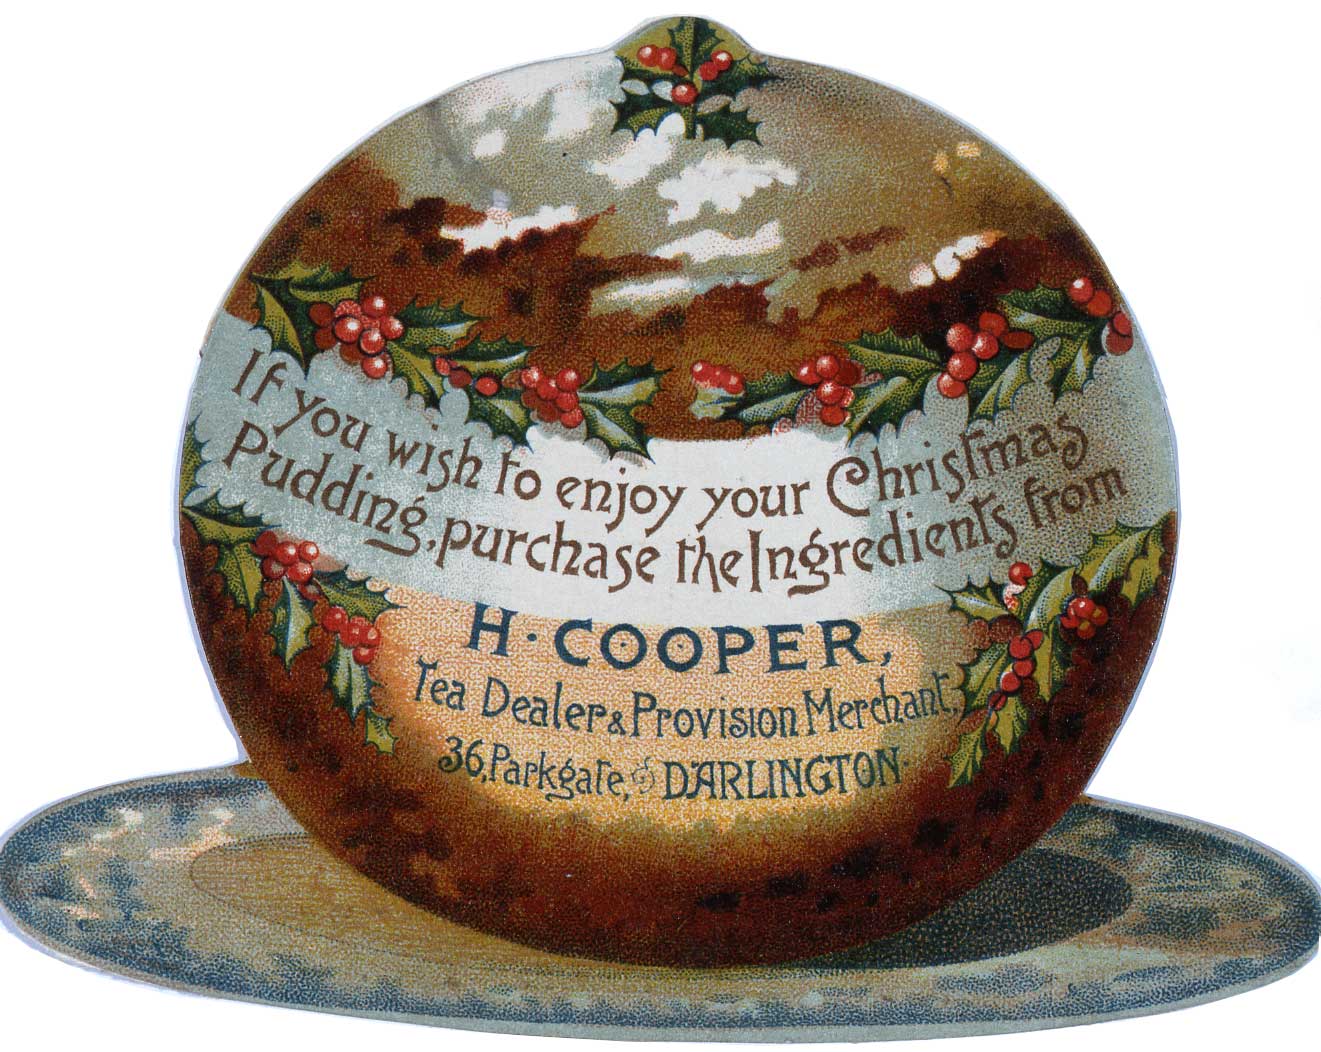
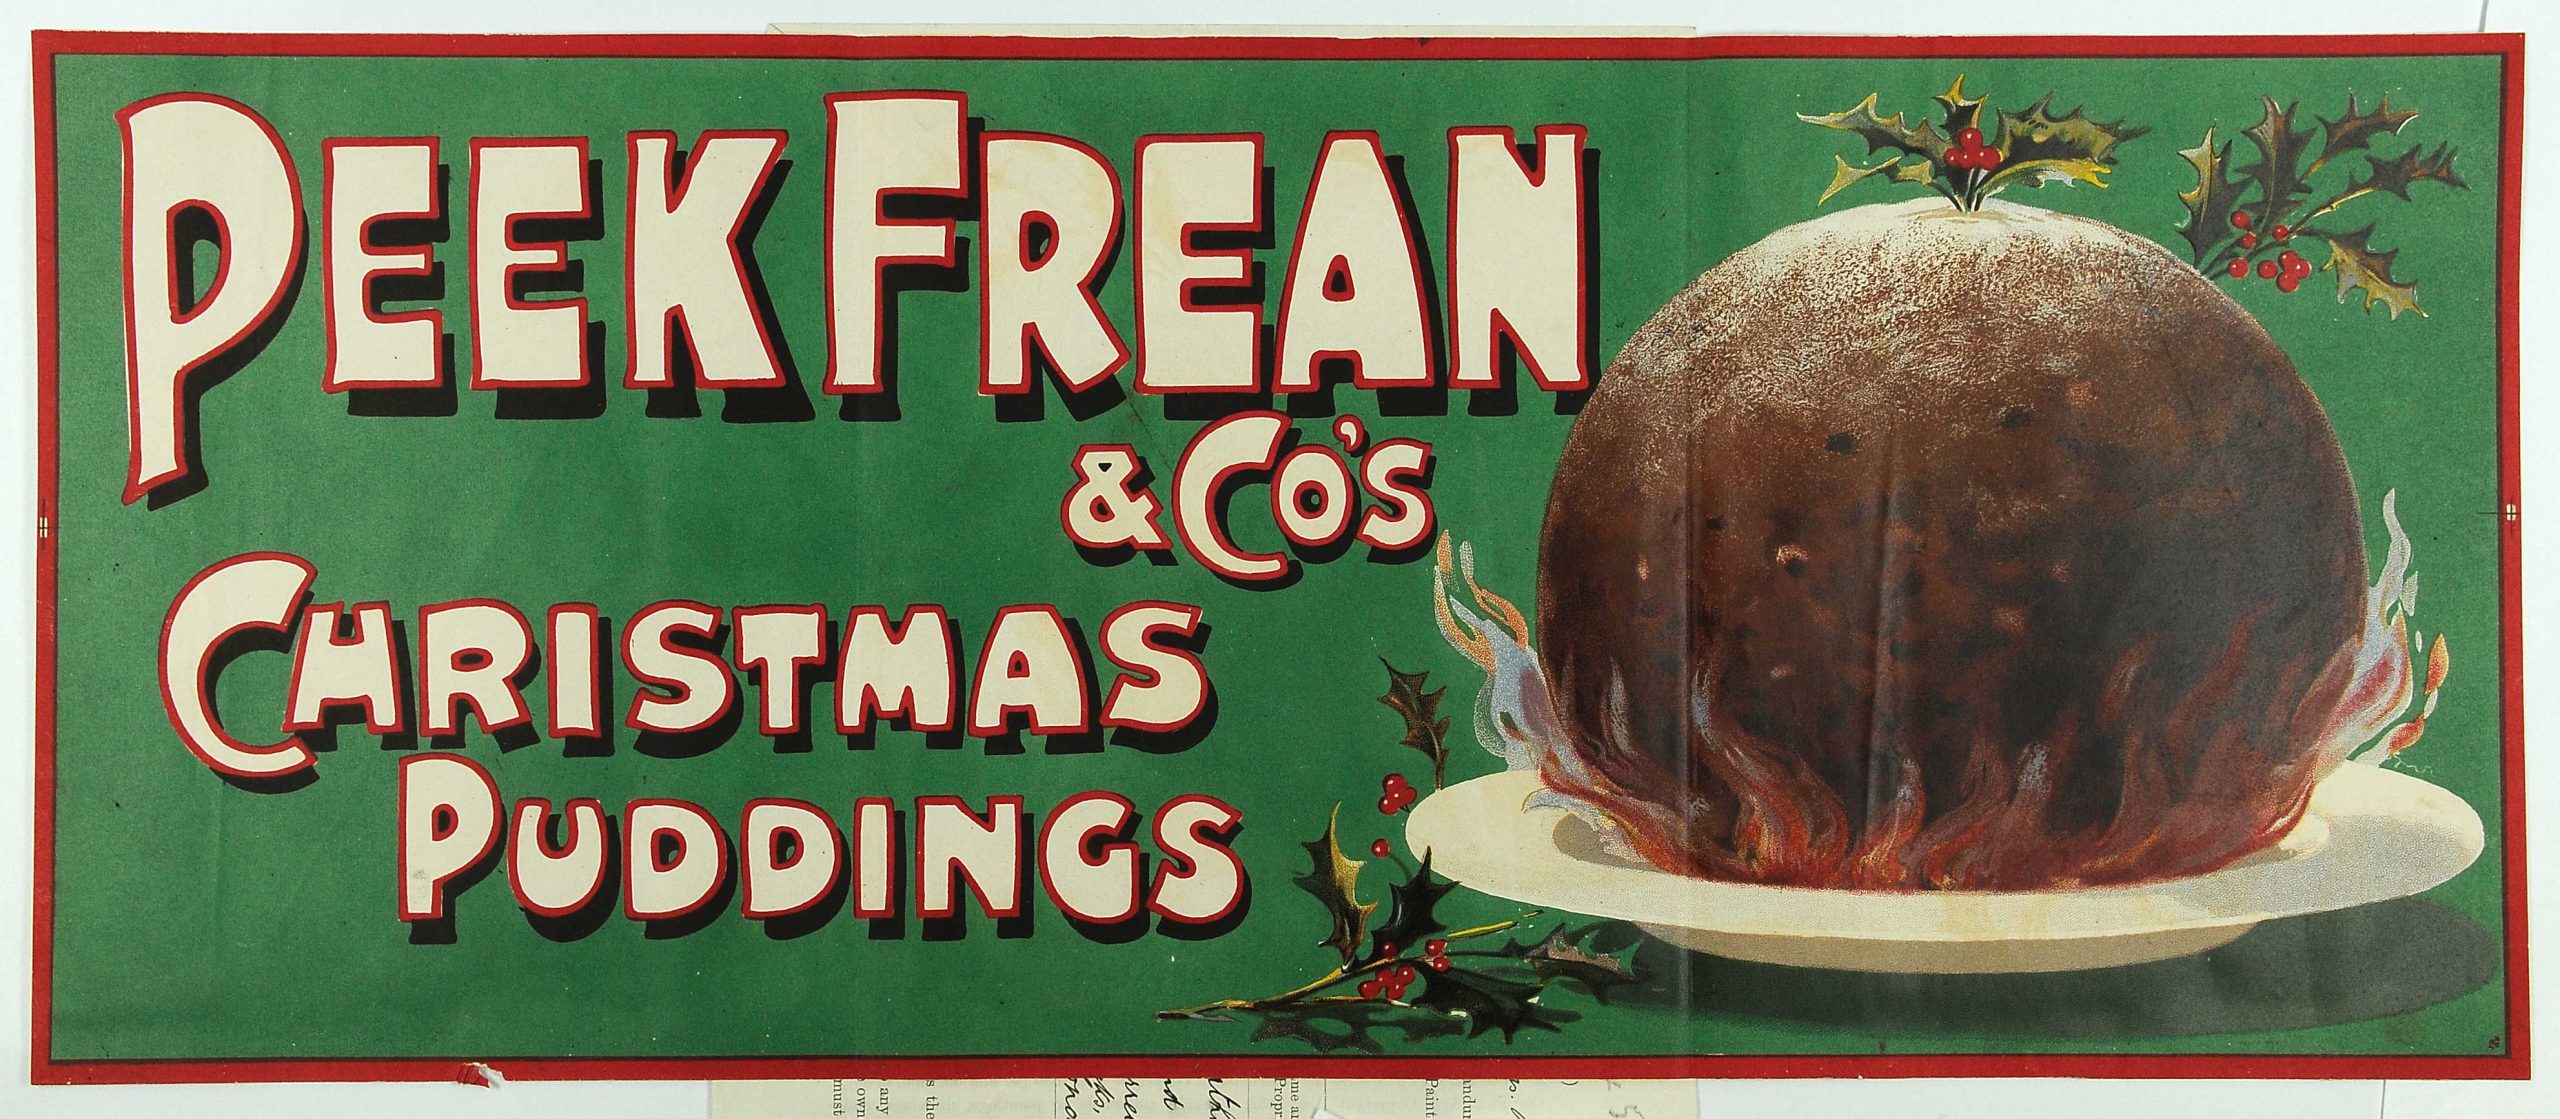
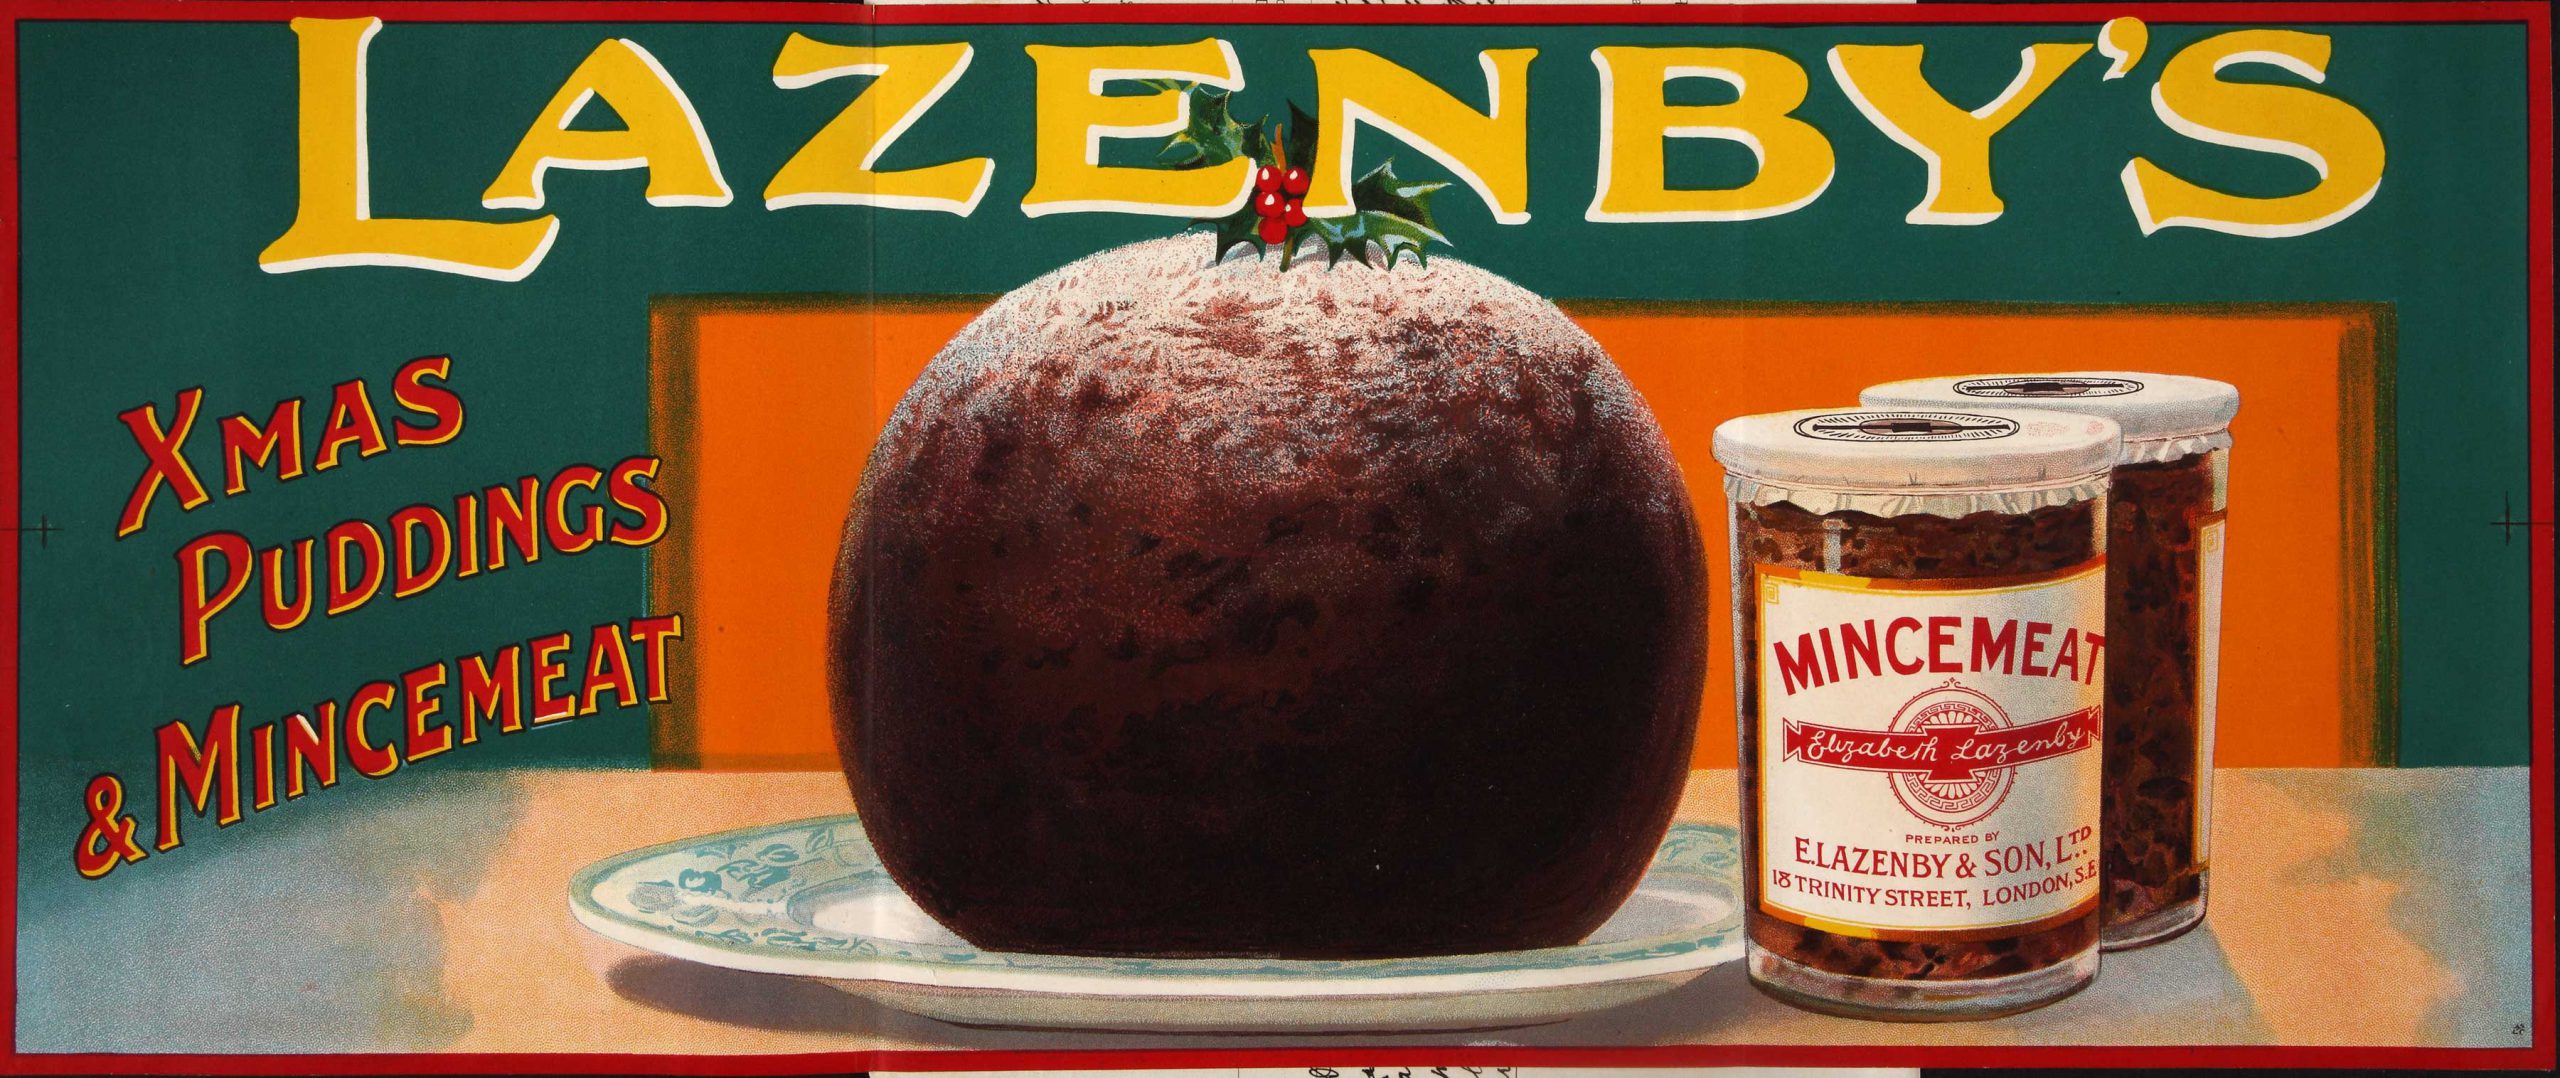
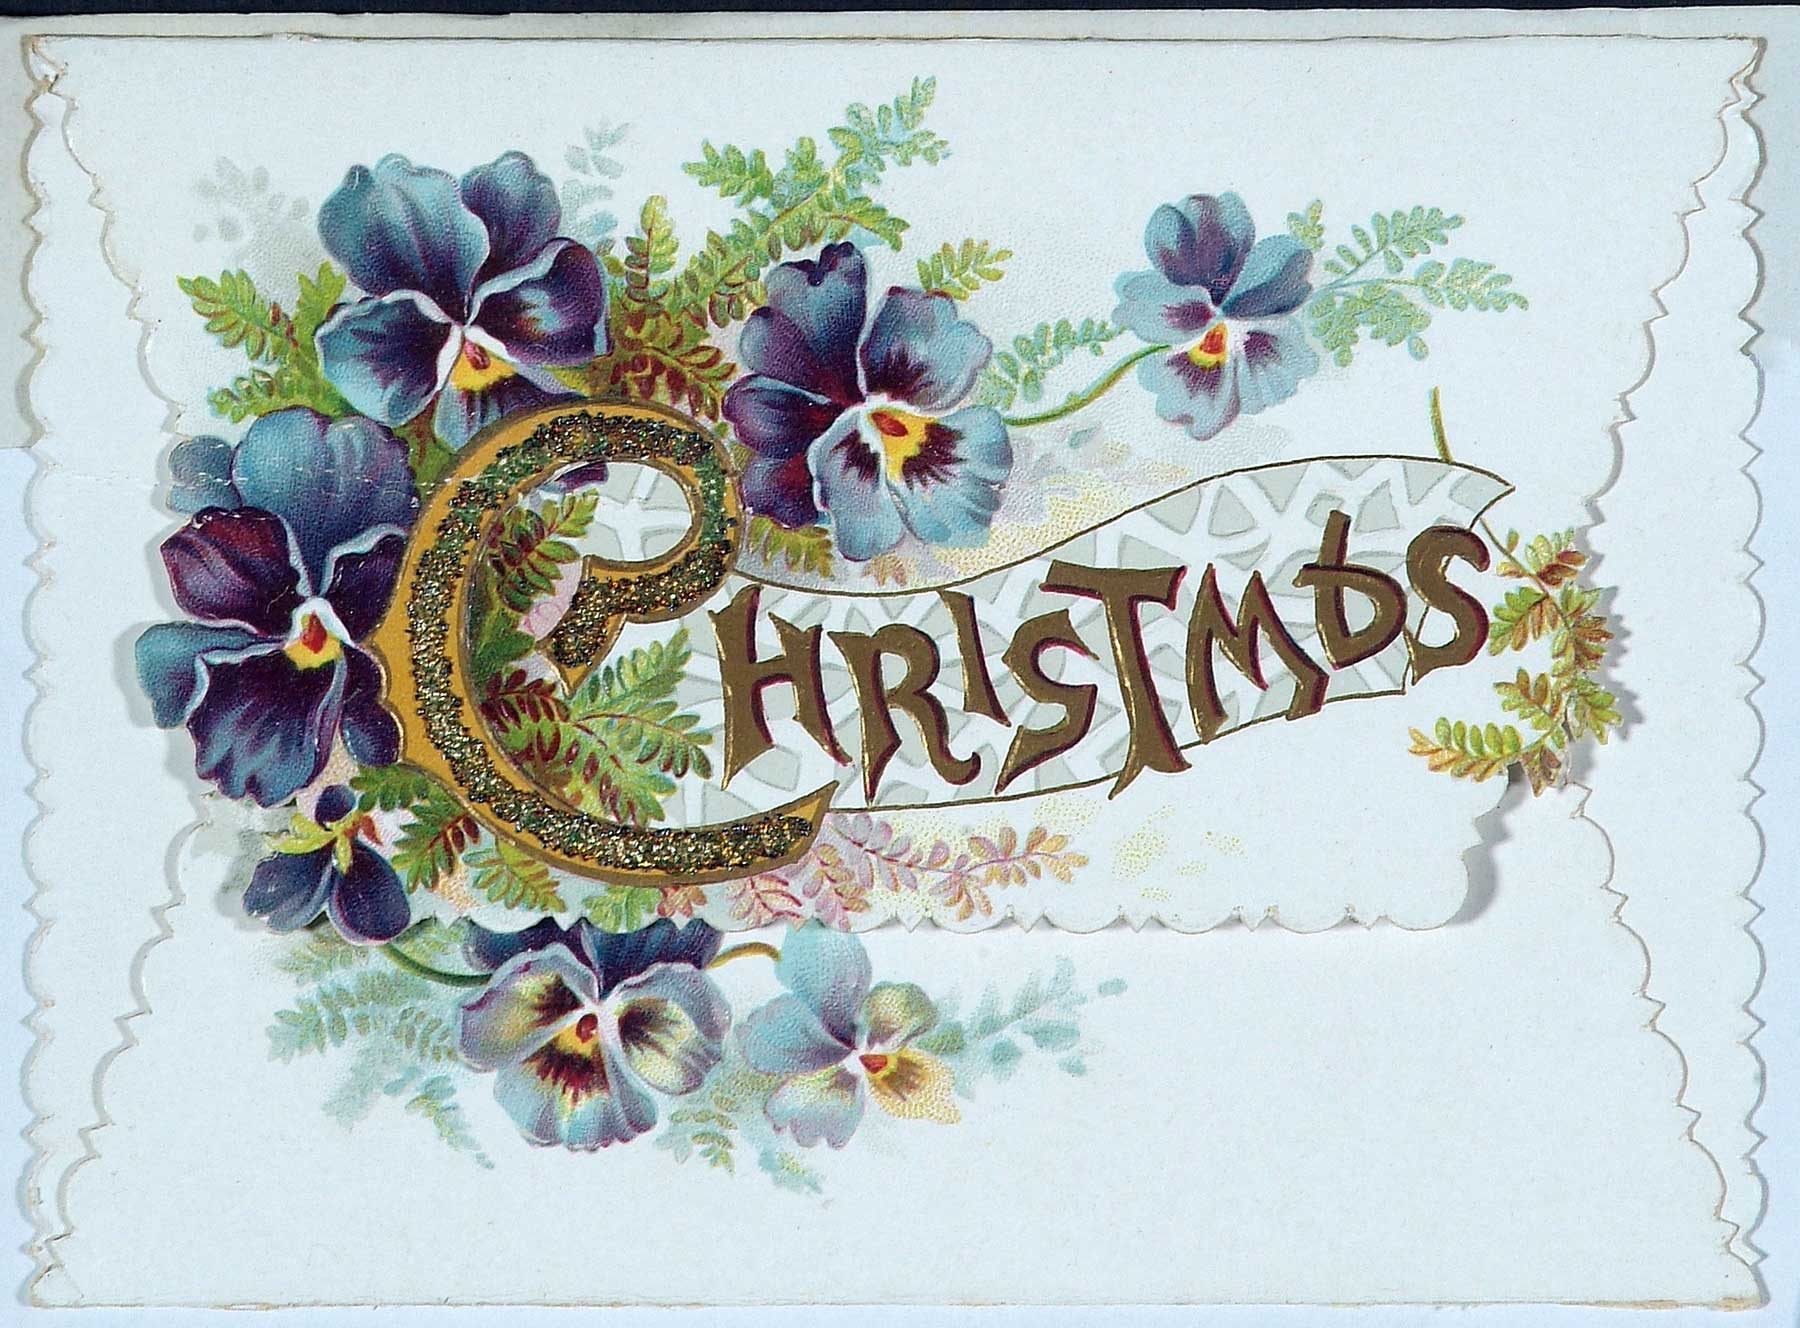
Take a look at some further documents from our collection:

Templates (jpg)
You can download the card templates here as a PDF or by saving the images below:

Suitable for: Key stage 1, Key stage 2
Time period: Early 20th Century 1901-1918, Victorians 1850-1901
Curriculum topics: Leisure and Entertainment, Recreation through time
Suggested inquiry questions: What will you put in your pop-up card?
Potential activities: Use the templates provided to create your own pop-up card.
Selling the Victorians
Victorians for sale! Has advertising changed from Victorian times?
Past pleasures
How did the Victorians have fun?